Showing posts with label recipes. Show all posts

Thursday, 29 May 2014

Keeping Things Cool in the 19th Century Pt. 3: Making Cheese, Please!

Cheese making was not a laborious or intricate procedure for the early Pennsylvania Germans who settled in 19th Century Waterloo County. Indeed, dairying is not something that particularly defined this culture group although it certainly was commonplace--at least on a smaller scale than we see today. Known more as a pork-based food culture, cheeses that were produced by these people locally were usually soft cheeses and not aged, hard cheeses like cheddar. Dialect names such as Ballekase, Hofkase and Schmierkase represent a few of these proliferous cheeses that accompanied many a loaf of home-made Roggenbrot (Rye Bread) on the Pennsylvania-German table in early Waterloo County. More often than not, butter was sold as a commodity to make some extra cash for the thrifty hausfrau and so one would find its ready replacement-Schmierkase- along with a small bowl of delicious apple butter on the table. What is apple butter? Similar to an apple jam or concentrated applesauce that is spreadable or spoonable onto a slice of bread. Like their Pennsylvania relatives, local Pa. Germans planted apple trees in record number, eventually harvesting the fruit in a variety of ways that have and often still do predominate many a local dinner table.

For more information on apple harvesting history see: http://www.nationalapplemuseum.com/appleciderandmore.html 

Incidentally, we also have a well-known local festival that takes place every September. For more information on the Wellesley Apple Butter and Cheese Festival:  http://www.wellesleyabcfestival.ca/

And finally, to make apple butter for yourself in a slow cooker, a great little recipe: http://allrecipes.com/recipe/all-day-apple-butter/

But I digress--back to my cheese making. Here I am making Schmierkase. On the wood stove, two litres of buttermilk (and that's it!) stirred once then left to sit on a back burner, simmering, until a good curd begins to form. If you look closely you will see the yellowy line running through the milk. This is the curd separating from the whey.
 The key here is to not bring it to a boil and don't stir it. Just let it sit, at a simmer, until it is clearly separated.

 At that point, pour your mixture of curds and whey into a sieve that has been lined with cheesecloth (historically they would have used linen cloth). As you can see by the photo, I also have the sieve sitting in a larger bowl so that I can catch the liquid that drains off of the curd. I upturned a smaller bowl and set the sieve on top of it to create a level of drainage space. Once you have poured the curd into the cheesecloth, tie it off and onto a wooden dowel (I just used a wooden spoon) to make a little pouch of sorts. Let it drain this way overnight--do not refrigerate it.

Sometimes, the sieve is a formed sieve like the one below in the foreground. This one is in the shape of a heart. If you use a shaped sieve, make sure to press the curd down into all of the shape so that the final dried curd will conform to it when you remove it. Historically, some of the cheeses made were special seasonal treats that included ingredients that were plentiful at that time and in season (the original Eat Local, Eat Fresh). One such recipe was for Easter Cheese which was an egg cheese (see below at bottom of blogpost for a recipe). Chickens normally slow down (virtually stop) egg laying production in the winter months yet will start producing again once spring comes (along with increasing daylight hours). Today, with the addition of modern lighting techniques this can be changed:
(see: http://www.theselfsufficienthomeacre.com/2013/12/do-chickens-lay-eggs-in-the-winter.html )

Historically speaking, the increased production of egg laying was a welcome change to the rather bland winter diet for most farmers in early days. Since this also occurred on or near the Easter season, a traditional food that reflected this was to make cheese that included sugar and the addition of newly plentiful eggs. This type of cheese was also well-known throughout Europe.

For the Schmierkase, once you pour the curds into the sieve leave it to drain. And so the overnight draining begins..... Notice the butter bowl and butter stamps on the table.
The next morning, carefully unwrap the curds from the cheesecloth and set it on a plate. With the tines of a fork, mash the curds to a fine consistency. Sprinkle some salt over the mashed curds to taste. Finally, pour enough table cream into and onto the mashed curds carefully working it through the curds with the fork. Add as much as is needed, carefully, in order to achieve a consistency that can be spread onto a slice of bread. The finished product with not be satin smooth but should still be relatively creamy when finished.
A nice local touch is to serve these soft cheeses with a drizzle of locally made maple syrup! Delicious! And so, we share with our guests......

Recipe for Easter (or Egg) Cheese
 NOTE: this cheese you stir while you are making it!

12 eggs
1 litre of whole milk
1 cup of white sugar
1/2 tsp fresh ground nutmeg (more or less according to taste)
1 tsp vanilla (optional)
In a separate bowl, whisk the eggs until light and fluffy. Stir in milk, sugar, vanilla and nutmeg. Cook over medium heat for about 30 minutes. Stir periodically to prevent the bottom of the pan to from scorching. When the mixture looks like cooked scrambled eggs, pour it carefully into a cheesecloth-lined sieve. Carefully gather the ends of the cheesecloth and pull them together until the cheese curds form into a ball. Tie the cheesecloth tightly a top of the ball and tie ends over a wooden spoon, suspending it over a bowl. Let drip overnight. (Alternately, you can press the curds in the cheesecloth into a shaped sieve and let drain overnight. Still you will need a bowl to catch the whey that is draining. When drained, untie the cheesecloth (or remove from sieve gently) and wrap in plastic wrap before refrigerating. Will keep for about a week. Slice and serve with maple syrup for a traditional local treat!

Thursday, 30 May 2013

Collective Industry & Thrift, Part 2

Pennsylvania Germans (colloquially known as Pennsylvania Dutch) are arguably best known for their strong sense of community or Freundschaft. No where is this exemplified more clearly than in the barn raisings that still take place today in rural areas of Pennsylvania, Ohio, Indiana and to a lesser extent, here in the Waterloo Region.

A barn raising bee or work bee is best described as a collective decision or industry whereby all able-bodied men of the community are expected to (and do) turn up to a particular location with the intent of building a barn-together. Collectively, many hands make light work AND many hands that are fed well and work for "free" are also thrifty workers (at least for the person whose barn is being constructed). Barns are requisite buildings on a farm and serve multiple purposes: housing farm animals, tools and equipment. (Some barns are also business offices for busy Mennonites who operate shops or side businesses in addition to maintaining their farm). For more information on barn raising (including photos) see:
http://en.wikipedia.org/wiki/Barn_raising

Of course, there are many other kinds of working bees: whereby the workload for a project is collectively shared: butchering, cider making (apple pressing), sheep shearing and of course as we saw in the previous post, quilting.

Feeding the Masses:
As stated, then, the community shares in the workload collectively but the expectation is that they are also going to be well-fed following their work! While the men worked, so did the women--making food to feed them. All of them (sometimes, hundreds of them). But, never fear, they were up to the task.

For the most part, Pennsylvania German food is substantial fare--hearty and thrifty. To accomplish this, most early farms cultivated a kitchen garden in addition to field crops, thereby supplementing the variety of small-scale food needs for a large family.
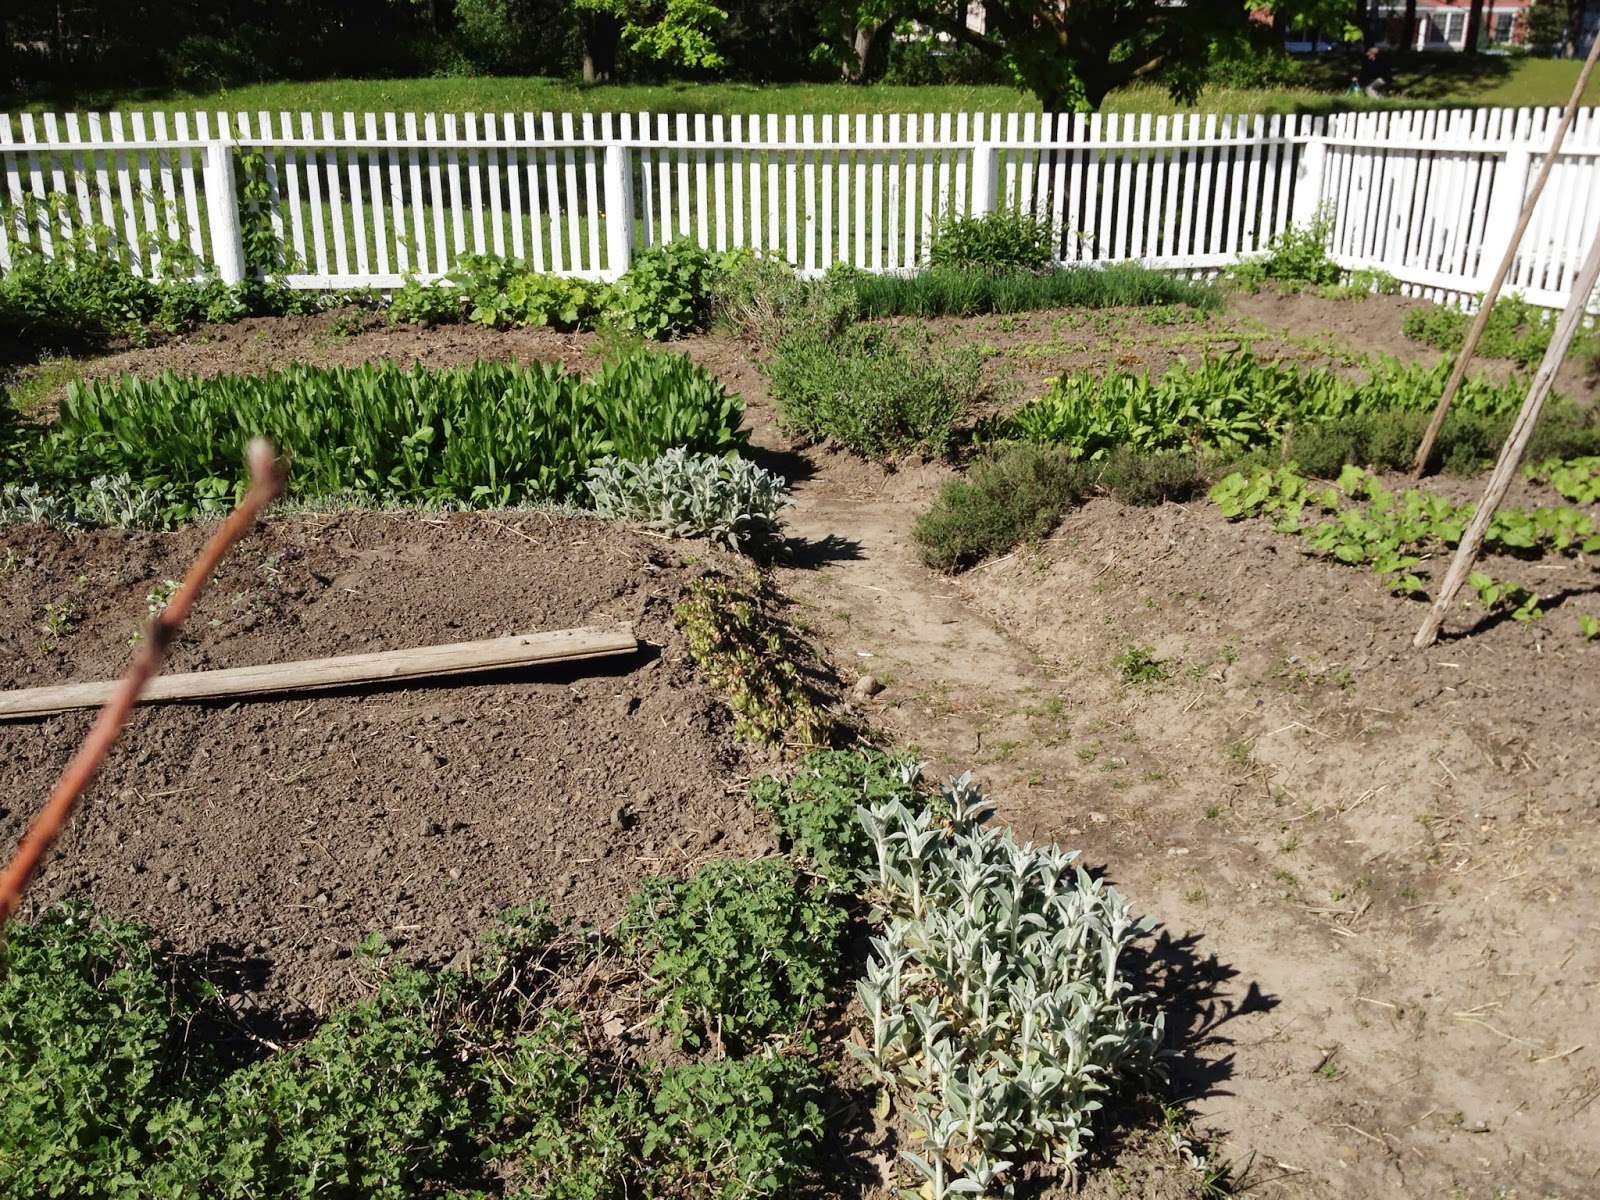
Taking turns watering the four-square kitchen garden at Joseph Schneider Haus

The kitchen garden provided herbs for cooking and medicine, vegetables and even utility plants like hops (for beer and bread yeast making) and madder root for dying wool. Every farm wife (and young woman) would have known how much food was required to feed her brood over the course of the year and would plant enough, accordingly. Even treats would have been accounted for and the ingredients to make them would be added to the larder to be used at the most auspicious times--usually for a celebration like a wedding or at Christmas. The Pennsylvania German pantry was well-stocked, indeed.
The Pantry or Speisekammer at Joseph Schneider Haus is filled with period crocks and baskets that would have been well used by the Schneider family when they lived there.

Beside the coffee grinder (center) is a round coffee roaster. The roaster sits on three legs and could have been used in an open hearth or on a wood stove. The Pennsylvania Germans in Waterloo County purchased large sacks of green coffee beans and roasted/ground them as needed. They loved their coffee!
Of their substantial diet, one of their favourite foods was dessert. Although pie was a later addition to their cultural foodways, once adopted, it became one of the staples on the Pennsylvania German table. To this day, Mennonites are known for the variety and quality of their delicious pies. Many of their pie fillings are (and would have been in the 19th century, as well) constructed with seasonal fruit obtained from their own garden and made simply with few ingredients. Spices such as cinnamon, allspice, nutmeg, etc. would have been relatively costly and would have been used sparingly--thrift, thrift, thrift!

Some Traditional Recipes

Pie Pastry Dough
1 lb. lard (2 cups)
2 tsp salt
5 1/2 cups of pastry flour
1 cup of cold water (can even add ice chips to it)

Method:
Combine flour and salt, adding lard. Blend until mixture resembles crumbs. At this point, add cold water 1 Tbsp at a time. (Be very careful with how much water you add since too much water can weigh down the crust and make it very heavy). After each addition of water, lightly toss mixture with a fork. Combine the adding of water and tossing of mixture until the pastry holds together in a ball (this means that you may not need all of the water--altitude and seasonal weather-temperature & humidity can also affect how much water you will need). Chill until needed.
Pastry for 5-6  nine inch pie plates.

The next recipe will seem odd to the modern palate but bear with me.A truly undervalued and forgotten delicacy, Vinegar Pie, is both delicious and thrifty.Yes, I said Vinegar Pie (Vinegar Pie tastes a lot like a Butter Tar, Chess Pie, Treacle Tart or Pecan Pie). This is a very old recipe and indicates what a woman could do with very little at hand and comes from a time when every woman knew how to (and did) cook all of the food her family ate from scratch. In his book "America Eats" food historian, William Woys Weaver suggests that this pie came about when access to costlier items such as lemons were not available. Apple cider vinegar was ubiquitous in rural homesteads and being versatile and healthy eventually made its way into a pie.Some versions of the Vinegar Pie add some lemons and even a meringue topping (yes I have a recipe for this so if you want it, just email me). The result of this would be similar, then, to a poor man's lemon meringue pie. The Vinegar Pie version I include here today is presumably older and certainly more simple to make and the result is quite tasty. You can even add raisins or nuts, if desired.

Vinegar Pie
1 cup cold water
1 egg
1 cup sugar (scant)
1 tbsp apple cider vinegar
1 heaping tbsp flour

Method:
Beat together eggs, sugar and flour. Add vinegar and cold water. Flavour with freshly grated nutmeg to taste. this makes enough filling for two 9 inch pies. Be very careful as the filling is quite liquid-y (what a word!). I might even suggest putting the pastry lined pans in the oven first and then adding the liquid filling to them to avoid spills. Bake at 350 degrees F. until done (check often, will vary according to your oven). Filling will be set and not runny when done.

Lemon Sponge Pie (speaking of lemons, another old Pennsylvania recipe)
Pastry for one 9 inch pie

1 cup white sugar
2 tbsp butter
3 eggs, separated
3 tablespoons of flour
1/2 tsp salt
Juice and grated rind of 1 lemon
1 cup of milk

Method:
Cream butter, adding the sugar and egg yolks. Beat well until stiff and set aside. Add the flour, salt,lemon juice and rind as well as the milk. Fold in the stiffly beaten egg whites and pour into an unbaked pie shell. Bake at 350 degrees F. for 45 minutes or so. Check often--should be set when done.

The next pie, I am including as a prelude to butter tarts. Sugar Pie or Tarte de Sucre is an old but common recipe for a pie that is still popular in Quebec, Canada to this day.
This photo shows a slice of Sugar Pie, accompanied by a scoop of French Vanilla ice cream and a generous dollop of whipped cream to boot!  http://frenchfood.about.com/od/frenchcookingtechniques/ss/sugarpie.htm
 Sugar Pie
According to tradition, the oldest version of this pie supposedly contained only three ingredients
 and was supposed to be mixed right in the pie pan, with the filling stirred by a finger.

Filling:
1 cup brown sugar - packed (but not too tightly)
1 tbsp flour
Half a pint of whipping cream minus 2 tablespoons (200 ml)

Another Sugar Pie version (complete with video):
http://allrecipes.com/recipe/quebec-city-sugar-pie-with-thick-cream/

What all of these pies have in common is that they are relatively simple to make with ingredients that a pioneer or early settler would have had on hand or had access to (Yes I am thinking about the lemons. These would have been pricey but accessible if you were willing or able to pay the price for them hence the use of such ingredients as vinegar, eggs and in the case of the sugar pie--maple syrup). This brings me to a Canadian classic--the butter tart.
Now, my grandmother's recipe for butter tarts is a little different from some that I have found while doing research. Many of the recipes are quite overly sweet, I find, but my grandmother used vinegar in her filling which is similar to the historic pie previously mentioned. I grew up with this and to me I prefer its taste over the cloyingly sweet ones that many a grocery store bakery tries to pawn off. What is interesting is that the magazine Canadian Living deemed a version of this recipe as being the "Best Butter Tarts" (It is very similar to our family recipe except we did not add coconut to ours, preferring the plain filling. Sometimes, depending upon the taste of the person they were made for, my mother would add raisins or nuts. I like them plain and a little drippy)!
http://www.canadianliving.com/food/baking_and_desserts/best_butter_tarts.php

Another similar version with how-to pictures:
http://www.acanadianfoodie.com/2010/01/09/butter-tarts/


Enjoy!

Friday, 24 May 2013

Of Mennonite Quilts & Shoo-fly Pie: Thrift and Collective Industry,Part 1


For many residents and visitors to the Region of Waterloo, the Old Order Mennonites are a familiar presence--especially in and around Kitchener-Waterloo and many of the northern tip (of the Waterloo Region) towns and rural area communities (e.g. Elmira, St. Jacobs, Floradale, Wallenstein, etc.). To be clear, there are many different practicing divisions of Mennonites to be found locally such as modern Mennonites, Markham, Russian and Mexican Mennonites and among the Old Orders there are also the David Martin Mennonites. To add to the confusion, we also can count a small but significant proportion of Amish, as well. Suffice it to say, the Mennonites have endowed this region with a rich and lasting cultural heritage, leaving a mark on many of us who are the descendants of the early settlers (my own family settled here in 1802 and were from Lancaster County, Pennsylvania). Throughout this blog, I have focused particularly on the 19th century Mennonite migration to this area and their subsequent and continuing contribution to this community. Many of these contributions are to the economy and built heritage of the region. Other contributions include cultural heritage. Today's blogpost will examine two of their most powerful and enduring traits that prevail to this day: thrift and collective industry.

The Pennsylvania Germans were known for their thrifty ways. In no way is this more exemplified than in their re-purposing of old clothing. Nothing, I mean nothing, that could be reused was ever thrown away (we could do well today to learn from their example...). All sorts of cloth-ends that were no longer useable for clothing could be cut, matched and sewn together (re-purposed!) to form some of the loveliest (and warm) quilts imaginable.
Joseph Schneider Haus Museum: the Parents' Bedroom or "the Kammer"


In the cradle, a lovely quilt is ready to warm a tired baby. The cradle is a Schneider artifact and is from Joseph's brother's (Jacob or 'Yoch") side of the family.
In the sitting room ("Sitzstub") of the Joseph Schneider Haus, a petticoat is on the old quilt frame and awaits a deft hand (and a young student). Quilted petticoats were worn underneath a woman's dress as underwear to keep the woman warm in inclement weather (and unheated houses). When it was really cold outside, a woman would wear multiple petticoats at a time.

Working alone is not as much fun as sharing the workload with friends and family.
At the Joseph Schneider Haus, Mennonite ladies still gather each year to quilt. The quilt is finished in a day and then raffled off the next year, following a display of the fine work involved. When they meet, the ladies enjoy a lively conversation (often in Plattdeutsch, their dialect) and are also known to sing while they work to pass the time.

Many skilled hands make light and beautiful work

Take a moment and look at some of the quilts on display behind the ladies. May 25, 2013 is the annual Mennonite Relief Charity Quilt Auction. These quilts will make the journey from their display at Joseph Schneider Haus to the Auction in New Hamburg, Ontario. All have been donated by skilled and passionate quilters. Some quilts have even fetched upwards of thousands of dollars each--with all the proceeds going to charity!

Mmmmmmm Pie!
After the work is done, it is time for a shared snack.The Pennsylvania Germans, especially the Mennonites and the Amish are known for their distinct adaptation of traditional German foods. Although pie is more of a British food invention, the Pennsylvania Germans were quick to adapt what they saw their British neighbours doing and soon pies were included along with the German coffee cakes. Shoo-fly Pie is an excellent example of such adaptations.


Pennsylvania German food is hearty and delicious but did you know that for the most part it is also thrifty? The Pa. German housewife used every part of the animal and scrap of food she could and was known for her ability to feed large numbers of people with home made bread, buns, cakes, soups, sausages and hams. Eventually, the food repertoire expanded to include the Pennsylvania German adaptation of other cultures such as pie.

 Shoo-fly Pie
This recipe calls for butter or margarine but the original versions would have included butter or "lard" as lard was a treasured by-product of the pork-rich diet of the Pennsylvania Germans (much like their German forebears)

Apparently, Shoo-fly Pie is a mystery pie and of this, its origin is a hotly debated topic.According to whom you speak, many theories of its humble beginning abound. Shoo-fly Pie is a sort of coffee cake, gooey at the bottom and situated inside of pastry. Its advantage is that it is a thrifty pie to make and it can be eaten with one hand holding it (in this way, as a portable snack, as it were, it could theoretically be carried out to a farmer who was working his fields to enjoy without the need for a plate or cutlery). Traditionally, the Pennsylvania Germans loved their pies and often ate them at every meal (yes, you read that right!). Shoo-fly Pie was often enjoyed as a breakfast dish, served with coffee. William Woys Weaver, noted food historian and ethnographer of Pennsylvania German foodways, tells us in "Pennsylvania Dutch Country Cooking" that the Shoo-fly Pie is a relatively recent creation, dating only as far back as the Philadelphia centennial celebration of 1876 where its first incarnation was as a cake. Weaver claims the name of this cake, the "Centennial Cake," gave way to "Granger Pie" and later, "Shoo-fly Pie" after the recipe reached the "Pennsylvania Dutch" region. (Along this line, it has been said that the pie got its name from one of its key ingredients, namely, the brand of molasses used at the time of its creation: Shoo-fly Molasses). Others, still, have speculated that the pie (like the molasses) got their names from the flies that frequented the sticky sweet goodness of the molasses who were shooed away.

Of the things upon which its adherents agree, the pie must contain molasses to be an authentic Shoo-fly regardless of which version you choose to make: Wet-Bottom or Dry-Bottom. The pie is a sturdy one and another of its advantages is that it stays moist and lasts (potentially if it isn't immediately eaten) longer than some other traditional berry or fruit pies. There is even a cake version that eschews the crust (see below):

A Shoo-fly Cake Recipe, from Phyllis Pellman Good

SHOO-FLY CAKE
Preparation time: 25 minutes
Cooking time: 40 minutes
Yield: 9 servings
"This close kin to Shoo-fly Pie has no crust," Good writes in "The Best of Amish Cooking." "Consequently, it can be put together more quickly. The crumb topping and gooey bottom made an icing unnecessary."

4 cups flour (2 cups whole-wheat flour and 2 cups white flour, if desired)
2 cups packed brown sugar
1 cup (2 sticks) butter
2 cups boiling water
1 cup molasses
2 teaspoons baking soda
1. Heat oven to 350 degrees. Combine flour and sugar in large bowl. Cut in butter using pastry blender. Set aside 1 1/2 cups crumbs for topping.
2. Mix water, molasses and baking soda in medium bowl; add to crumb mixture. Mix until batter is evenly mixed but lumpy.
3. Pour into greased and floured 13- by 9-inch baking pan. Sprinkle with reserved crumbs. Bake until wooden pick inserted in center comes out clean, 35 to 40 minutes. Cool.


My Recipe for Shoofly Pie (This would be known as a "Wet-Bottom" Shoofly Pie)

Bottom Part:
1 cup of molasses (I use 1/2 cup molasses and 1/2 cup of maple syrup because my family likes the taste of it AND because it adds a Canadian twist to this classic)
1/2 tsp. baking soda dissolved in
3/4 cup of boiling water
pinch of salt

Dissolve the baking soda in the boiling water, stirring well as it foams. Add the remaining molasses mixture and salt. Stir and pour into a prepared and unbaked pie crust (9 inch pie pan).

Top Part, Crumb Mixture:
1  1/2 cups of flour
1 tsp. ground cinnamon
1 tsp. freshly ground nutmeg
1 cup brown sugar
3/4 cup of softened butter or lard

Mix ingredients and crumb together. Moving in a clock-wise fashion and starting from the center of the pie plate, distribute/sprinkle the crumbs in a spiral fashion over the liquid. When you are finished, the entire liquid should be covered and the crumbs should be evenly distributed over the top of the pie. Bake at 375 degrees F. for about 30 to 40 minutes. Let it cool completely and serve with a generous(!) dollop of whipped cream.
Enjoy!

For a further look at this classic, see:
http://lbaer.com/wp-content/uploads/2011/11/LBaer-EdibleChesapake-Shoofly-Summer-09.pdf

http://blog.aaa.si.edu/2012/07/a-modernist-likes-old-fashioned-dessert.html


(Coming up next, Part Two--- because you asked me to....Butter Tarts and Sugar Pie---oh, and more about thrift and collective industry)!